Filed under: 3D, Equipment, Lighting, On Location, photogrammetry, RTI | Tags: Maori weaving, photogrammetry, RTI, TeRa
In January 2020 Mark Mudge and I traveled to the British Museum in London to document the only existing Māori canoe sail of its kind, made over 200 years ago. The imaging work was performed in collaboration with the New Zealand project Te Rā – The Māori Sail Whakaarahia anō te rā kaihau! – Raise up again billowing sail! funded by The Royal Society – Te Apārangi Marsden Fund.
The New Zealand team produced a 13½-minute video of the project that you can watch here: Imaging Te Rā at the British Museum 2020

helps prepare the sail for imaging
The construction and materials of the last known Māori sail, Te Rā, had not been identified, documented, or made publicly available, until this project put significant efforts into these identifications and documentation. Māori textile researchers from New Zealand brought in CHI to image the sail, which is made with fragile plant materials and feathers. The CHI team used both photogrammetry and Reflectance Transformation Imaging (RTI) to help the experts examine and understand more about the delicately woven and perishable materials. The research team wanted to gain a greater understanding of how the Māori sailed the ocean and the intricacies of their weaving techniques.
We worked with the sail on site at the British Museum for 5 days.
The first day was all preparation: meeting the team, examining the sail, setting up equipment, testing lights, and troubleshooting. The second day was spent on the imaging. The initial preparation had begun back in the CHI studio in San Francisco, when Marlin Lum, Imaging Director, prepared for the intensive imaging project by creating a life-size paper template of the sail so the CHI team could work out the imaging logistics ahead of time. Marlin had also created an ingenious camera rig to manage the imaging and protect the fragile materials. Marlin’s rig was attached to a rental pro video slider unit that we picked up in London on the first morning.

At the museum collection facility, the sail was spread out on a protective foam core platform on the floor, covered by black paper. Because the sail has a pattern of holes in it, we performed tests on how best to mask out the holes so that they would be correctly modeled as holes in the final model. The black paper worked best. Over this the team positioned the trolley with its cantilevered arm that could move across and incrementally shoot the entire area, photo by photo. The camera height could be adjusted using a slider and the camera angle could be adjusted using a ball head.
Here is my project note from the morning of the second day:
“Light tests and light adjustments are done. We add a Speedlite to the mix of lights to deal with a corner that was a bit dark. We will trigger the Speedlite (Michael’s Canon 600) with the PocketWizard TT1 and TT5 combo and all 4 Monoblocks are set to slave mode. It takes a bit of time to tune everything in using the light meter and small adjustments. We feel now the entire sail is evenly lit and imaging can begin.”
Scale bars were placed around the small end of the sail as were color checkers. Using a Canon 5DSR with 24mm f2.8 IS USM lens, and shooting at 18 inches distance from the subject, the imaging began with a calibration pass with 90-landscape-270 rows – then returned to the 90 position for the remainder of the imaging in that pass.
The feathers that trim the sail presented a significant imaging challenge: they stick up, and there are knots and places where the material juts out. The camera focus was set manually to allow some extra depth of field above where the main body of the sail was laid out, so that these elements would remain in focus.
As the work progressed, I recorded this:
“We completed the second pass of the sail with a 50mm lens today and shot 3 RTIs of detail areas chosen by Donna from the Maori textile team. Then we had a crew come in to turn the sail over, and we prepped everything for the back side (which is actually more important for the weavers). We will begin shooting that first thing tomorrow.”

Image: © TeRa Project, Marsden Fund, 2020:
After completing the work on site each day, we returned to our London apartment and began the next step: processing the images of the sail. We have built the RTIs and some other high-resolution 2D outputs of the sail and shared them with the team. The detail is fantastic. We look forward to the team’s continued research and the publishing of their findings, along with our imaging results.

Special thanks to: Donna Campbell, co-Principle Investigator (co-PI) for the research project worked closely with us on site; Julie Adams, Curator of the Oceania Collections at the British Museum, hosted the imaging project; Michael O’Neill, a photographer from the National Museum of New Zealand Te Papa Tongarewa; Kira Zumkley, a London-based heritage photographer and researcher; and Jill Hassell, museum assistant. Catherine Smith, co-PI on the project aided in logistics and overall project management.
You can read more about the sail in the research team’s blog and also the British Museum’s description of the sail from its online collection.
Filed under: RTI, Training, Workshops | Tags: Digital Imaging, RTI, RTIViewer, Training, Workshops
 Marlin Lum is the Imaging Director at Cultural Heritage Imaging (CHI) and a member of the CHI training team.
I thought I’d take a few moments to decode what it’s like to be an instructor in one of our RTI training classes. Like anything else, there’s a certain level of planning, intention, and positive enthusiasm that I expect from myself (and from anyone enrolled). I do my best to pass this on to everyone who elects to give us their valuable time. I truly enjoy teaching at this level. I see these training sessions as a unique opportunity to pass on my knowledge in a form that can help create conditions primed for discoveries as well as to make new friends.
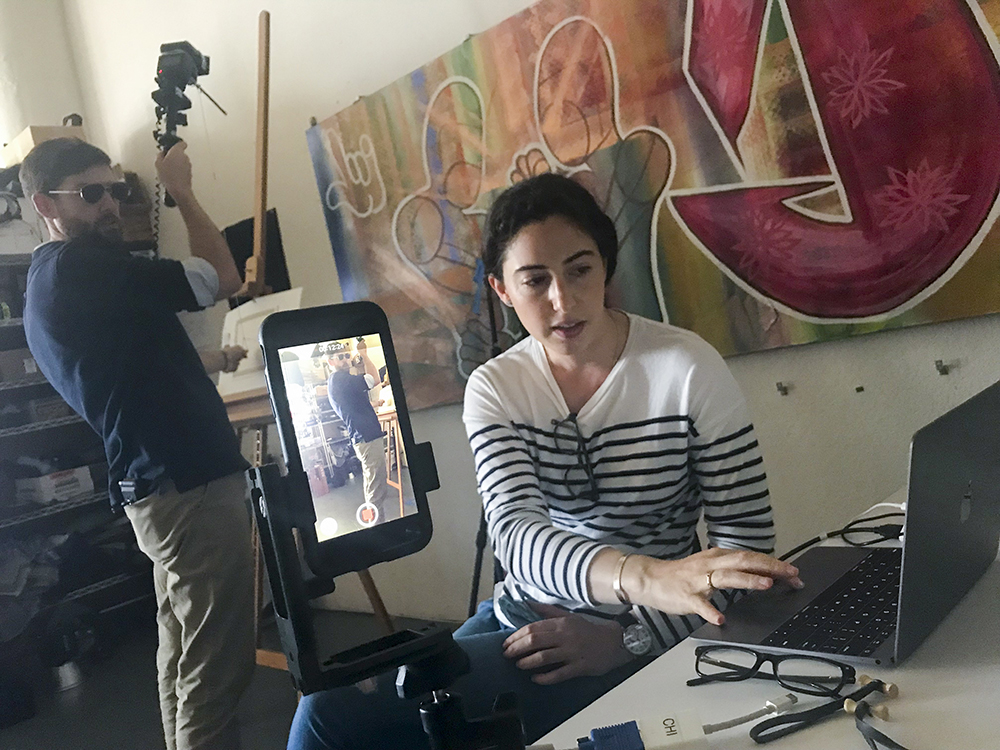
RTI capture with iPhone in tow to track one of those special photographic moments. (Aviator sun glasses optional.)
CHI RTI training (as well as our photogrammetry class) simply means spending four days conveying photo DIY geekiness to a usually very enthusiastic, and sometimes even rowdy, motley crew of professors, scholars, conservation professionals, archaeologists, and pro photographers. (By the way, just so you know, it’s usually the archaeologists and the pro shooters who can hold the most liquor.) All of these folks, and everyone who walks into one of our trainings, is ultra-talented, focused, and very motivated to succeed. As you might guess, this makes my job significantly easier as well as seemingly more important. At least the furious note-taking in most of my hands-on demos would lead me to think this. As I always state on day one, hour one: “I make it my goal to make you successful (at least photographically).”
Got spheres? Get on the plane! Make sure those spheres are on same plane as the object. Place them carefully so they do not move and are always in focus.
Helping these trainees from the bus stop to the f-stop and along their way to making discoveries is not only a privilege but something of a rush. More than once I have witnessed the birth of an important discovery. I once watched a conservator realize that a Mayan lead ingot sitting on the bench actually had numerous coded “knot” inscriptions, though they were seemingly invisible to the human eye. RTI revealed this fairly matter of factly. I’ve heard the shriek of conservation staff as RTI revealed a previously hidden but somewhat “suspect” under-painting. I once heard an Egyptologist glyph expert read aloud, then carefully re-read, a good fortune spell. Apparently, the original person who had paid for the spell got taken, because RTI revealed that the original owner’s name had been scratched away and re-etched with a new dude’s name. I imagine that was a fairly common event. Wait till the guy dies, then sneak over there, scratch out his name, and write yours. Boom, check, all done, sweetie. All right there in stone — can’t deny that when the judge points a finger at you. The oohs and aahs I hear never disappoint.
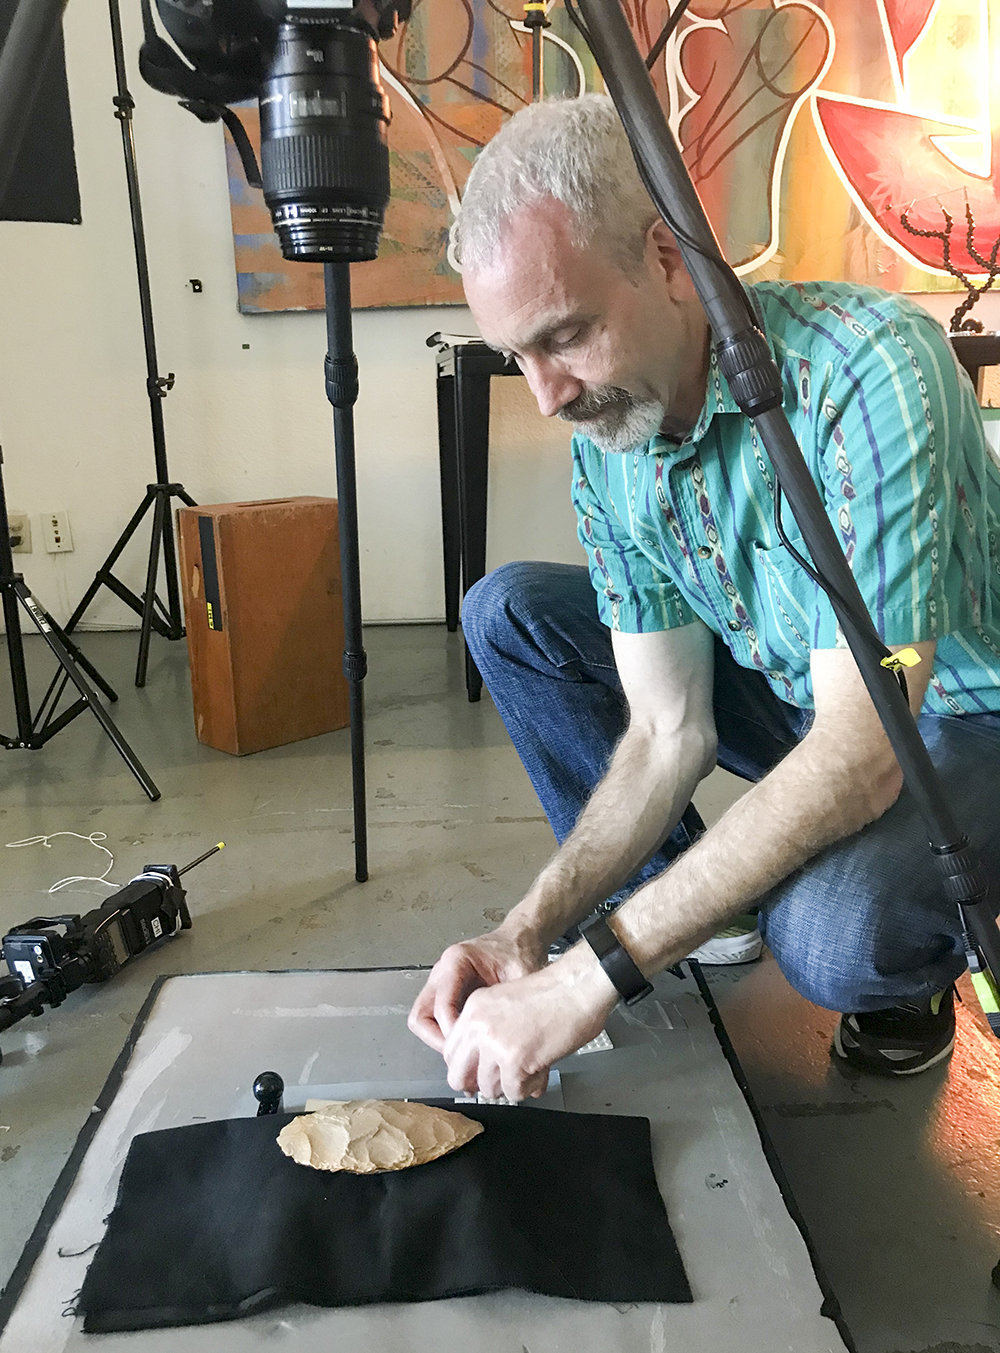
Setting up the object for proper RTI capture can take a bit of time, but using Live View mode can help your troubles go away.
Here’s the gist: I get fired up when I see you guys get fired up. RTI has the potential to inspire. Materials and objects that you didn’t think were worth imaging suddenly land on the request list. One down side: I heard a pro shooter from a large institution complain that he didn’t need any more work (oh, sorry).

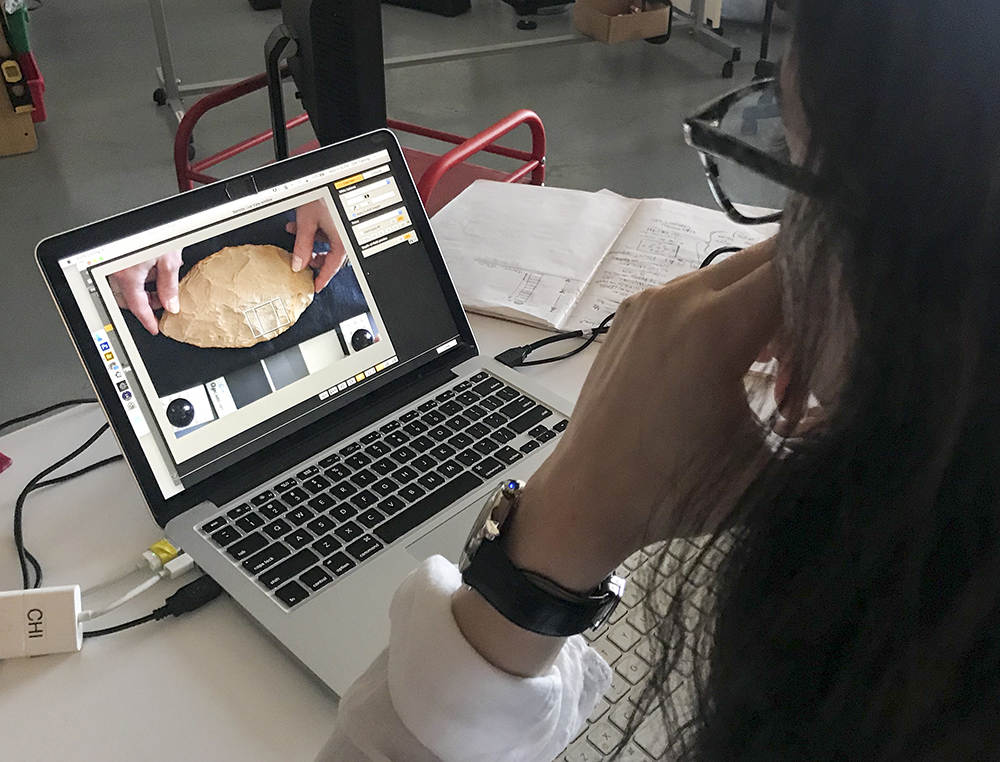
Use the RTIViewer to look at the details.
Just recently we taught an RTI class at the CHI studio (the photos in this blog are from that class). I’m not sure that any real discoveries were made, because we don’t have glyphs, ancient relics, masterpieces, or any “weird” non-provenance stuff from eBay lying around. However, I can vouch for the fact that I had a great time meeting cool new professionals, watching them engaged in what they do best, and then seeing them walk out the door, doing it better than before. Yup, I did write that. It’s in our best interest at CHI to make sure that you’re successful taking RTI (or photogrammetry) back to your professional crew.
